Shanghai Tower
Location: Lujiazui, Pudong, Shanghai.
Design team: Gensler
Owner: Shanghai city government
Height: 632 meters (2,073ft)
Level: 121
Project Progress
Part 1 Create Base Floor
1. Draw a circle with r30, using divide command to divide the circle by 24 points.
2. Rotate the points as 90°, using line command connect the central point and the 24 points.
3. Use extend command and formula x2+y2+z to extend the lines. Get the 24 points of the base floor.
4. Use the interplate command to get the shape of the base floor.
Part 2 Creat Tower Body
The tower rotates three times which are 9.6°, 120°, 5.8°. I create the tower body as 3 parts.
1. The first part, the Domain commands connect with the height(54.1m) and angle(9.6°).
2.Move the points and base floor curve to 9 floors.
3. Copy the commands of the first part. Changing the height to 605.1m, the number of floors to 116 and the angle to 120°.
4. Copy the commands again and change the height, floors, and angle.

5. Use construct domain command from 1 to 0.5 to change the scale of the tower.
Part 3 Roof

1. Re-divide central points to 35.

2. Copy the first-floor curve commands and change the scale.

3. Loft curves.

4. Use Graphic manage commands to reschedule the curves height of the roof walls.

5. Get points on each curve.

6. Get the points of the spiral cap.

7. Use edge surface commands to connect all the curves and points of the roof.
Part 4 Internal Part

1. Get all 24 points of each curve of the internal part based on the circle.

2. Extract 8 parts of the tower as the refuge storeys. And get internal parts by connecting points to a curve of each floor.
Part 5 Kangaroo
Use Kangaroo to change the roof
 |
| False |
 |
| True |
Part 6 Rendering
1. Loft body curves and bake all surfaces.
2. Render the model in the Rhino.
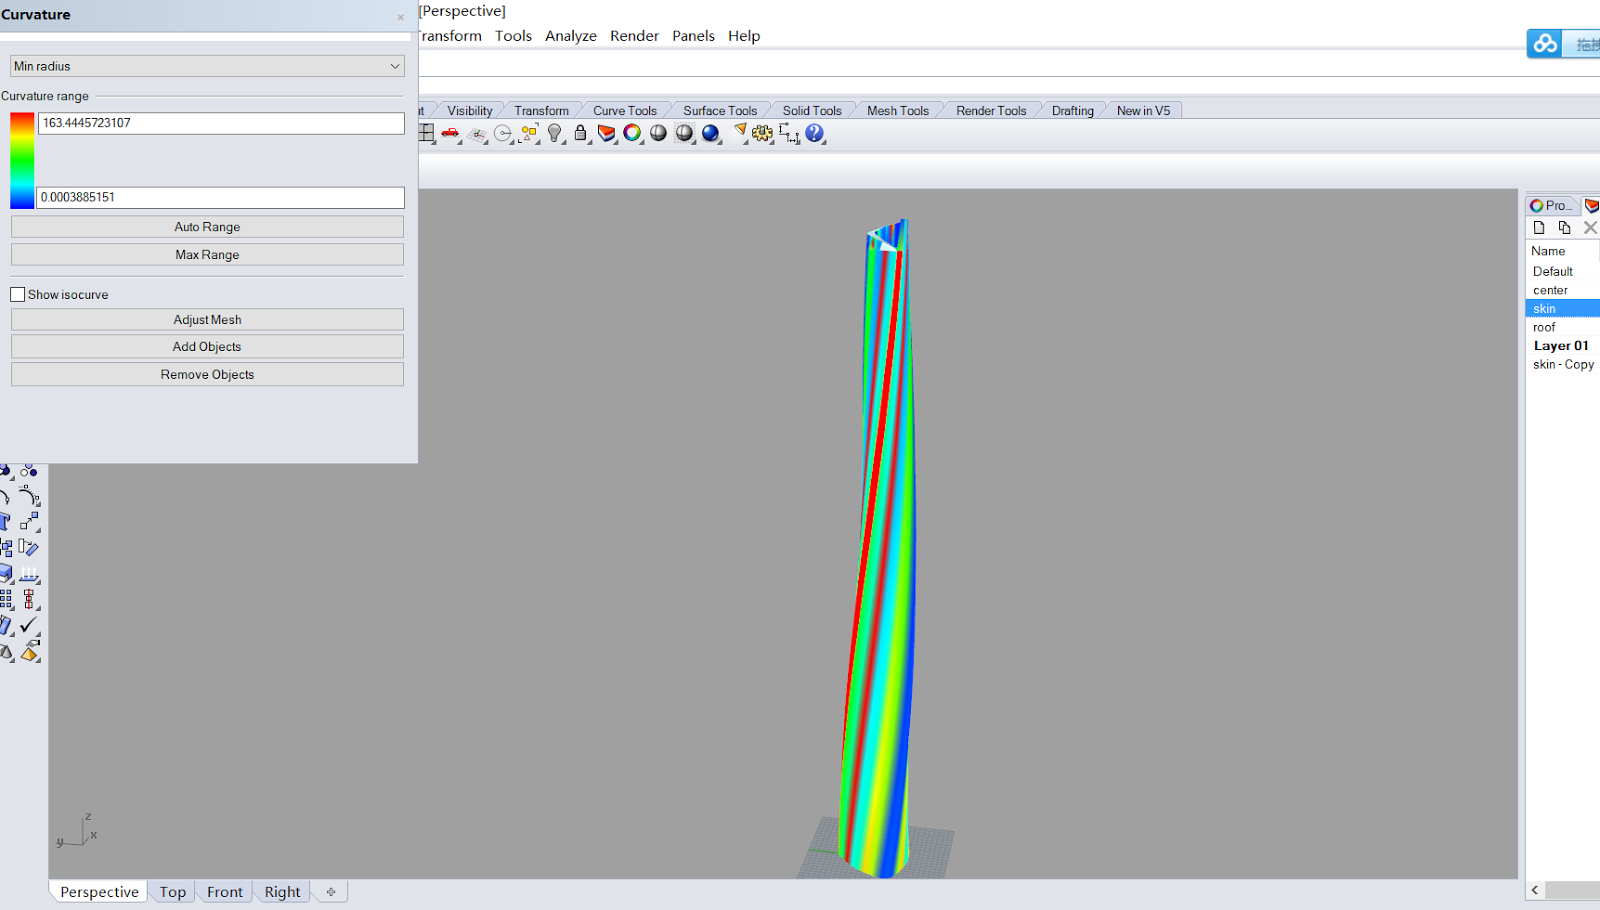
Part 7 Analysis
 |
| Curvature Analysis |
 |
| Zebra Options |
 |
| Draft Analysis |


